Skip to content
 Quality Assurance
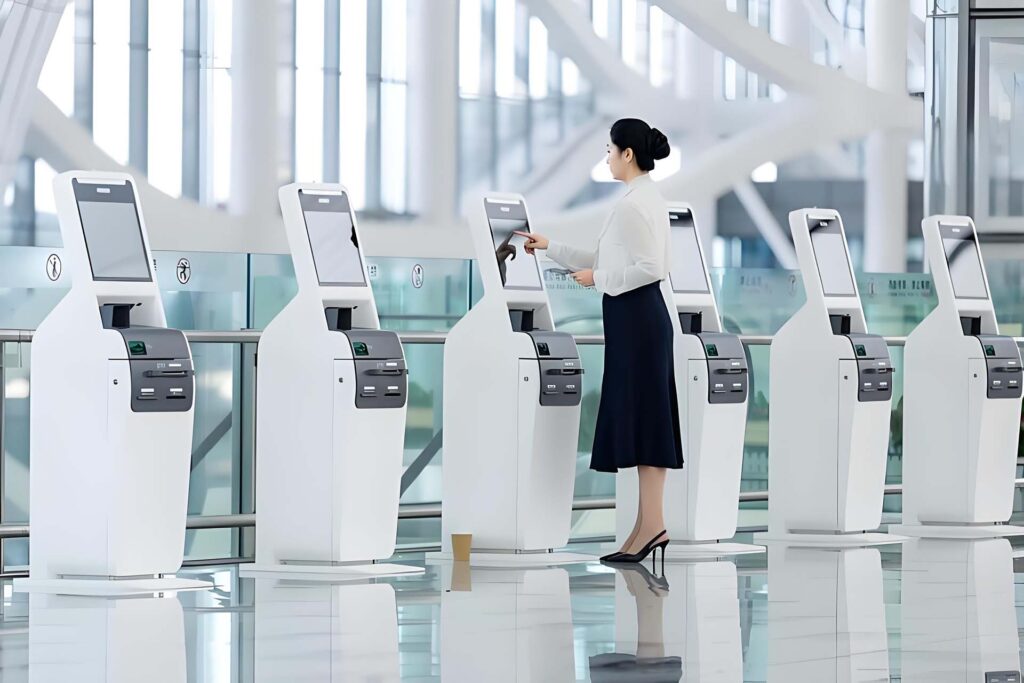
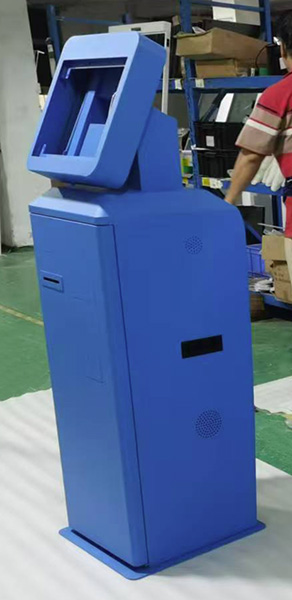
Here’s a step-by-step guide on the kiosk fabrication process and quality control by Seelinkin.
3D Design and Engineering
- Conceptual Design: after we’ve collected customers’ requirements and creative appearance, we start with a 3D model of the kiosk, incorporating branding, ergonomics, and accessibility considerations.
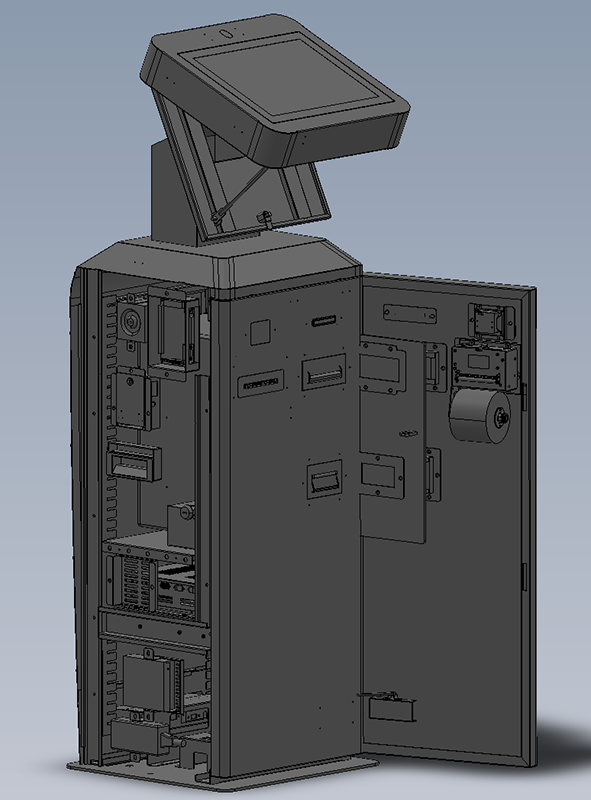
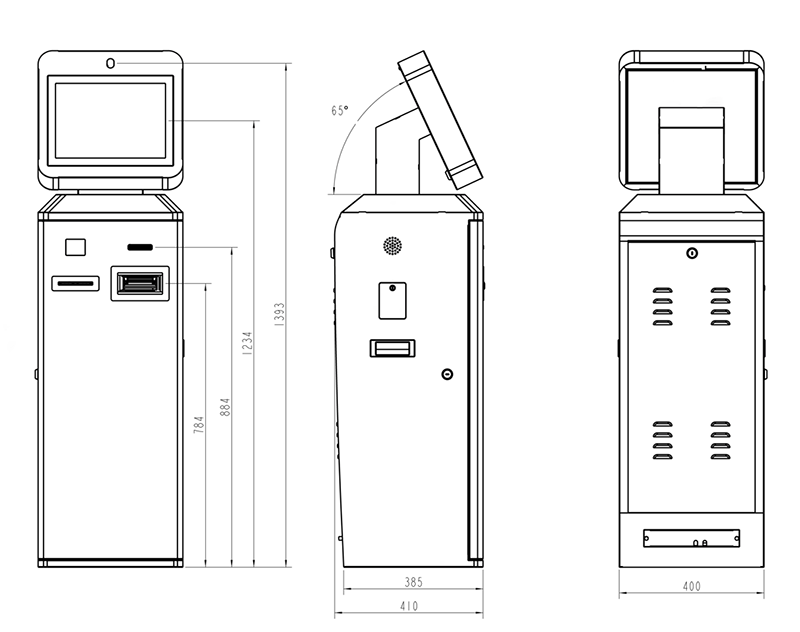
- Structural Design: create detailed blueprints that outline the enclosure dimensions, hardware layout, ventilation needs, and electrical wiring.
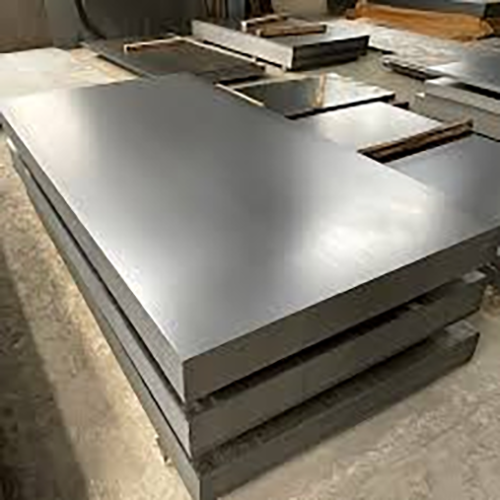
- Material Selection: choose materials that balance durability, aesthetics, and functionality. For example:
- – Metal: steel metal is common for kiosk enclosure due to durability and security; some projects such as metro station will use stainless steel
- – Glass or acrylic: often used for the display cover and barcode scanner for protection.
- Environmental Considerations: Determine if the kiosk will be indoor or outdoor, as this affects materials and weatherproofing needs.
Fabricating the Enclosure
- IQC (Input Quality Control) of material
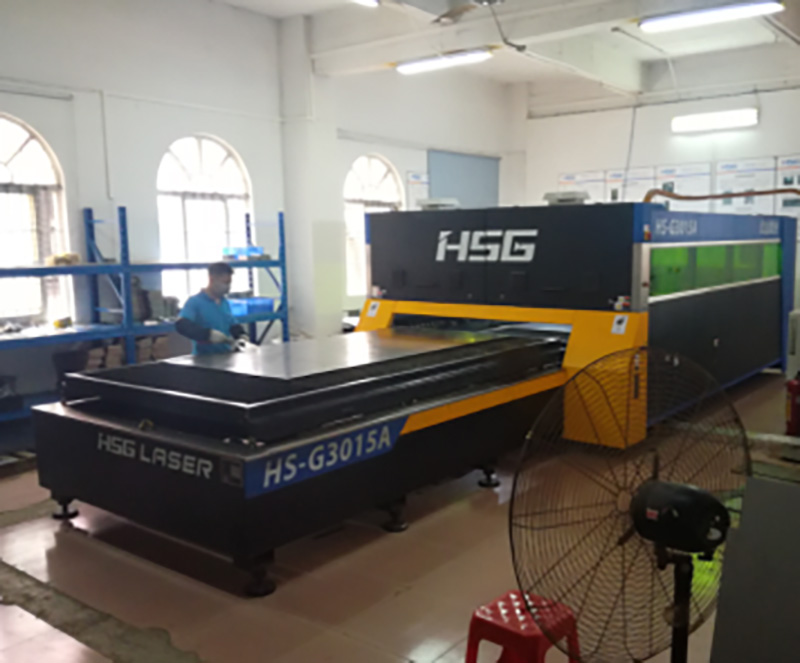
- Cutting and Shaping: after the workpiece plane expansion engineering drawing is ready, we will use laser cutting, CNC machines to cut metal, plastic, or glass components based on the engineering drawing.
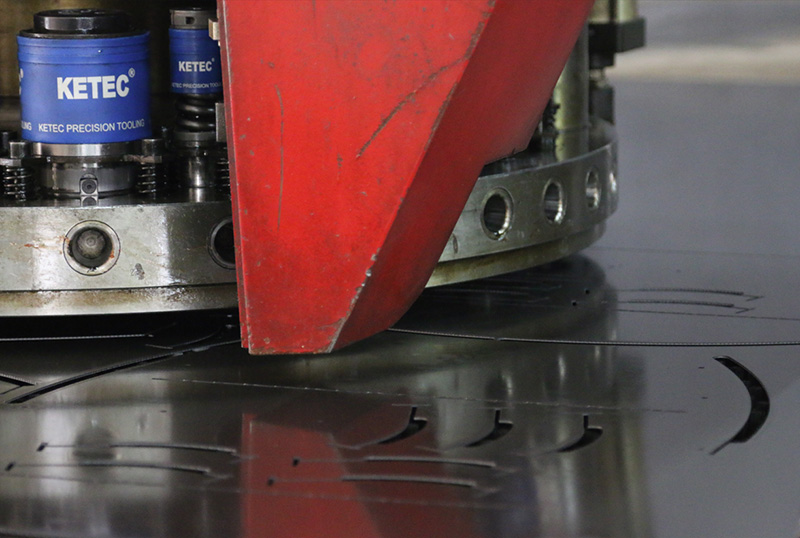
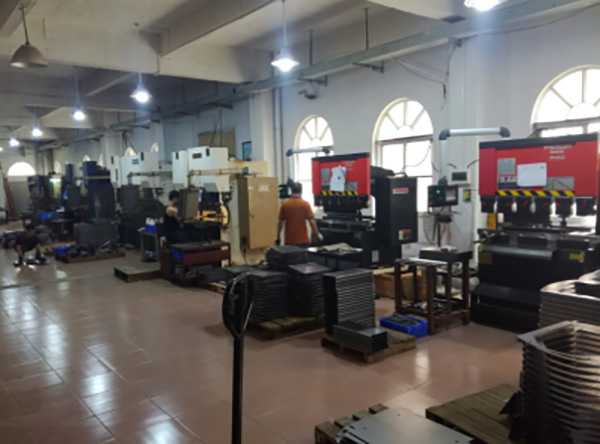
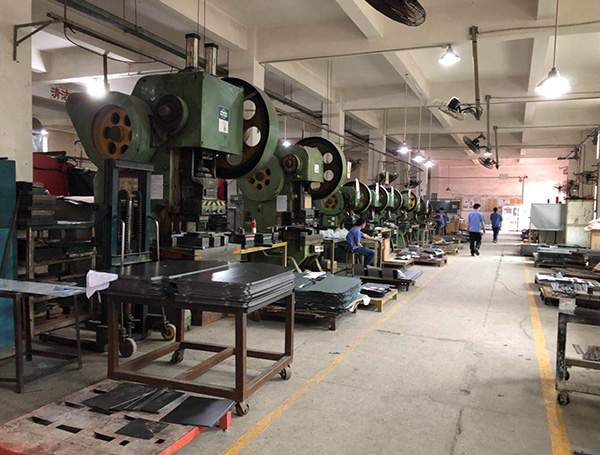
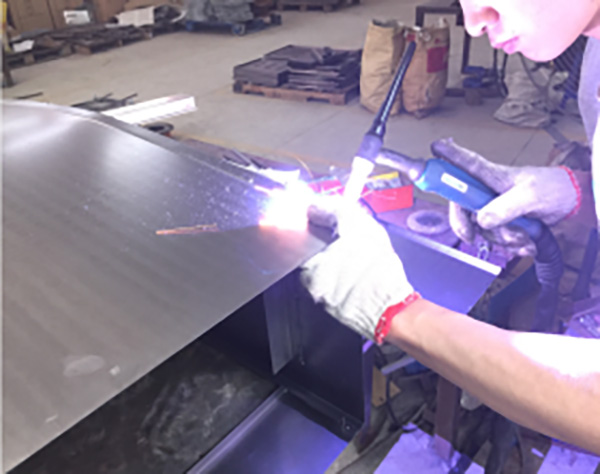
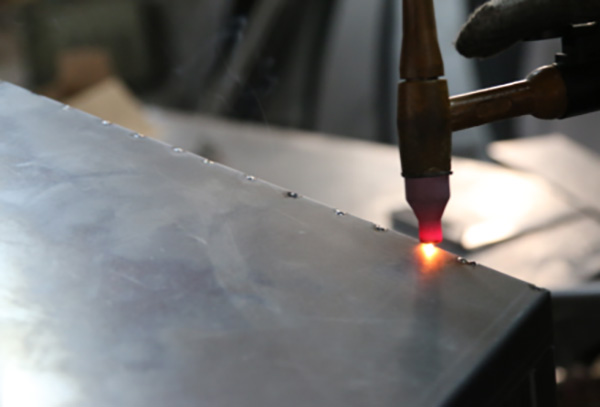
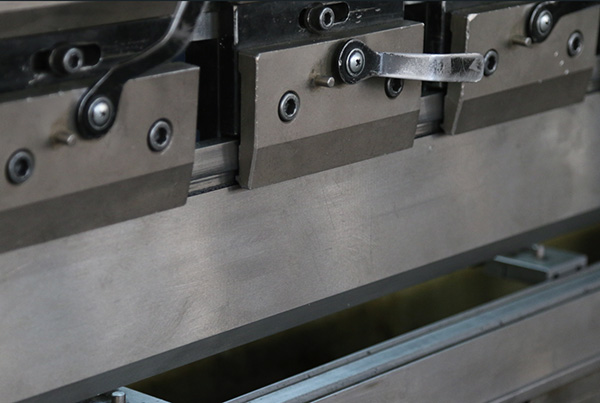
- Forming and Welding: shape the metal frame or panels by bending machine, punching machine, and welding machine. For example, reserved screws, pressure riveting, embedded columns
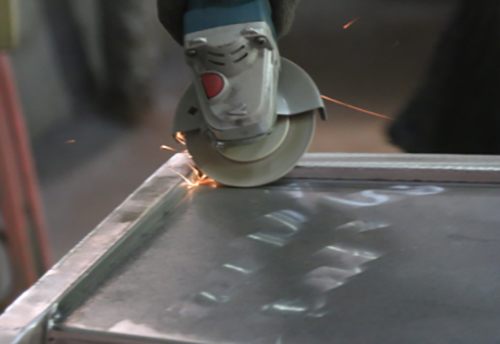
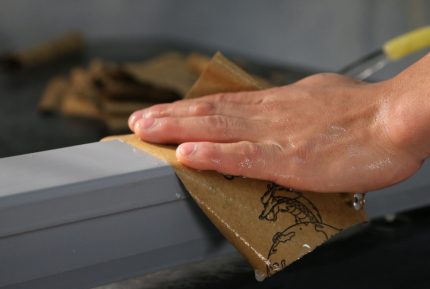
- Preliminary polishing
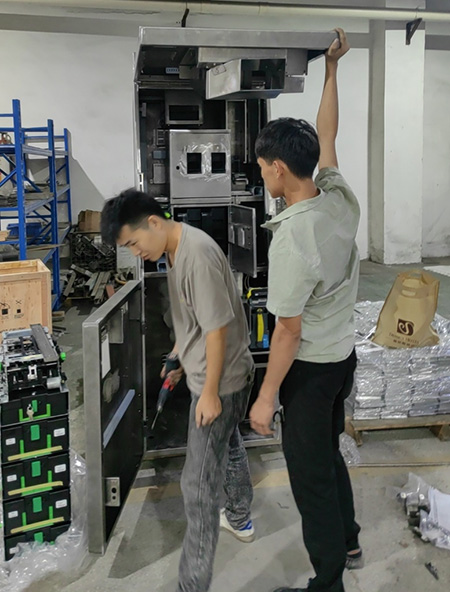
- Trial assembling: install all the important spares in the kiosk enclosure, make sure they fit well, this job is done before surface treatment
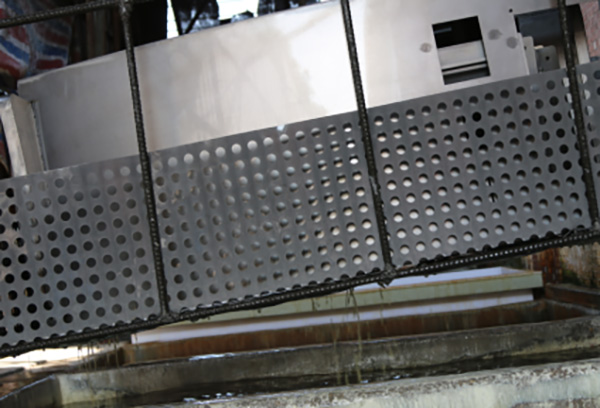
- Pickling (acid washing in pools): In pickling, rust and scales are removed by chemical reactions with mineral acids and with certain alkaline materials. The kiosk enclosure will be staying inside different pools for around 12 hours.
- fill with specific material on some area before surface treatment, so that a good quality surface can be guaranteed
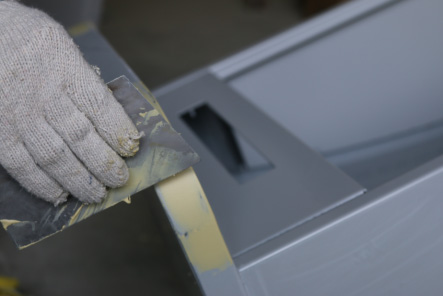
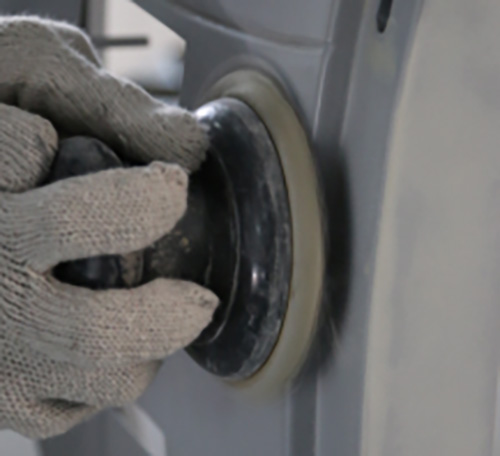
- Midway polishing: polish some specific area before surface treatment, so that a good quality surface can be guaranteed
- Clean the kiosk enclosure and get ready for surface treatment
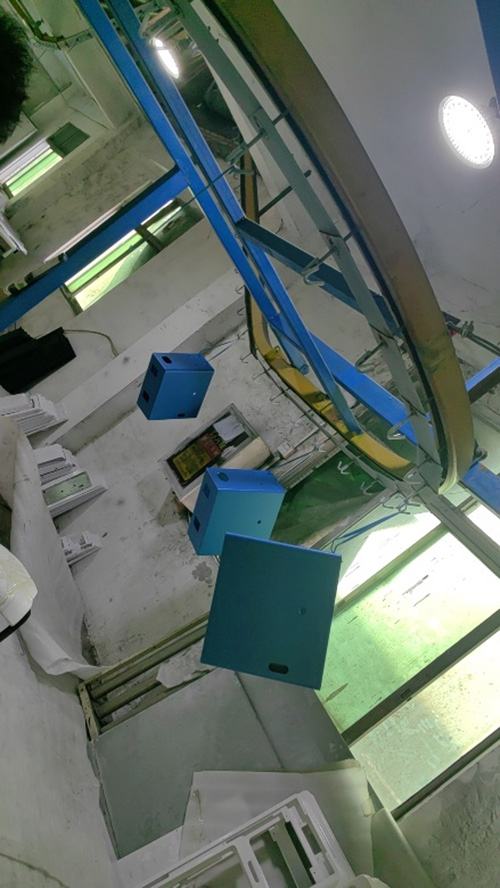
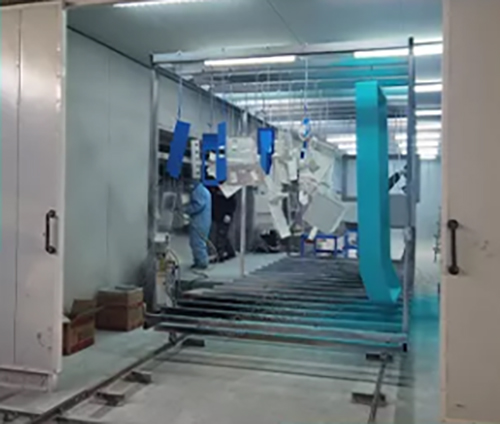
- Surface Treatment: apply treatments like powder coating
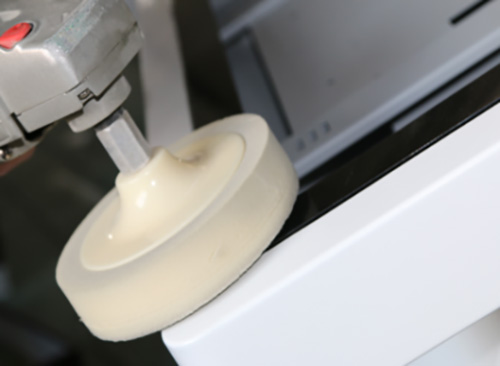
- Post-polishing: if necessary, we will arrange final polishing on some specific area, in order to have a good quality surface.

Components integration and test
- Mounting hardware: securely mount essential hardware, including the touchscreen, computer spares, cooling fans, and peripherals (notes acceptor, camera, printer, scanner, card reader, door sensor, I/O control board, acrylic cover, digital lock, speakers, and etc.).
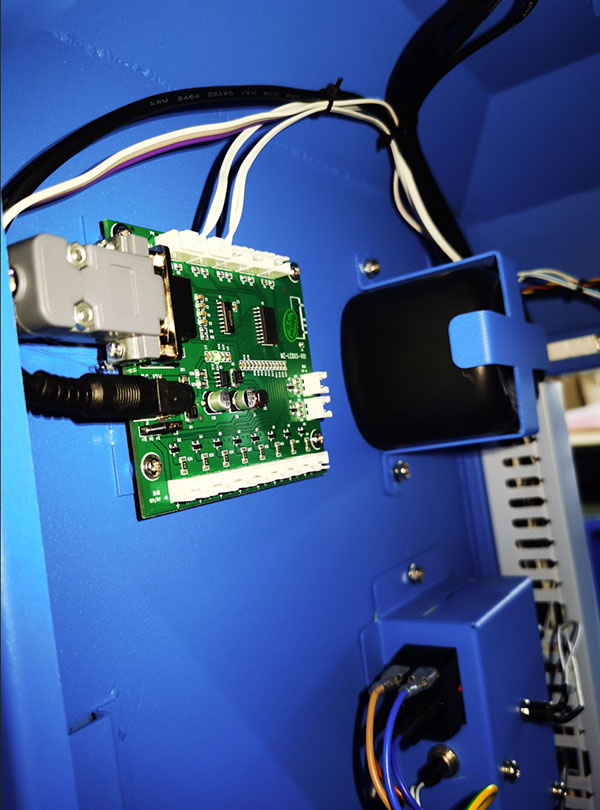
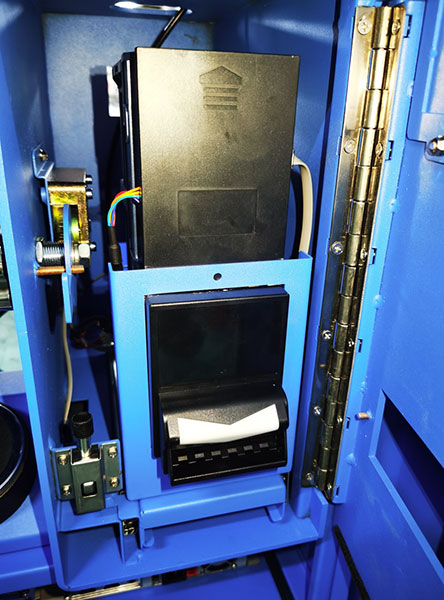
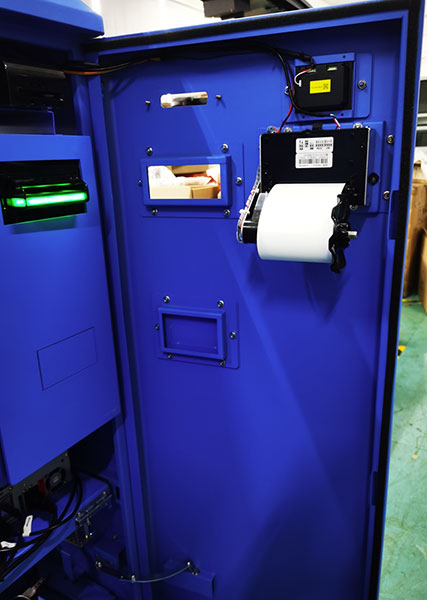
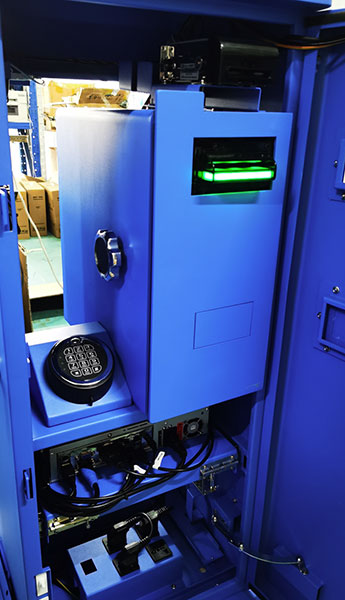
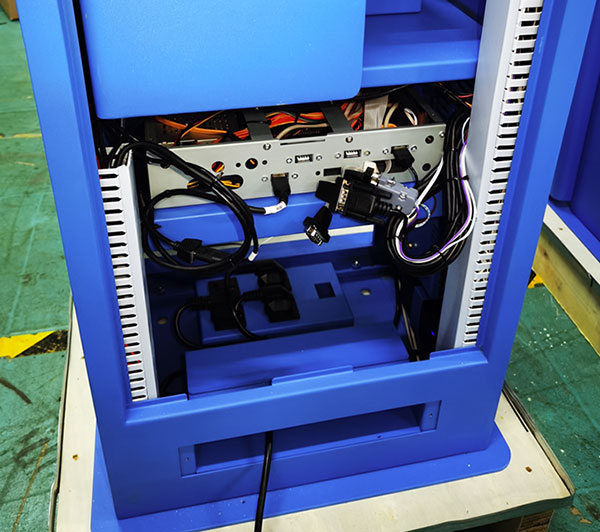
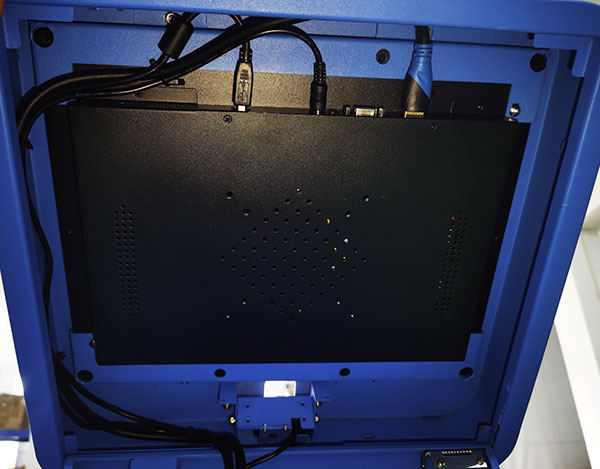
- Electrical Wiring and Circuitry: secure wiring to connect components, including power lines, switch power unit, network cables, USB connections, wire casing for wiring harness.
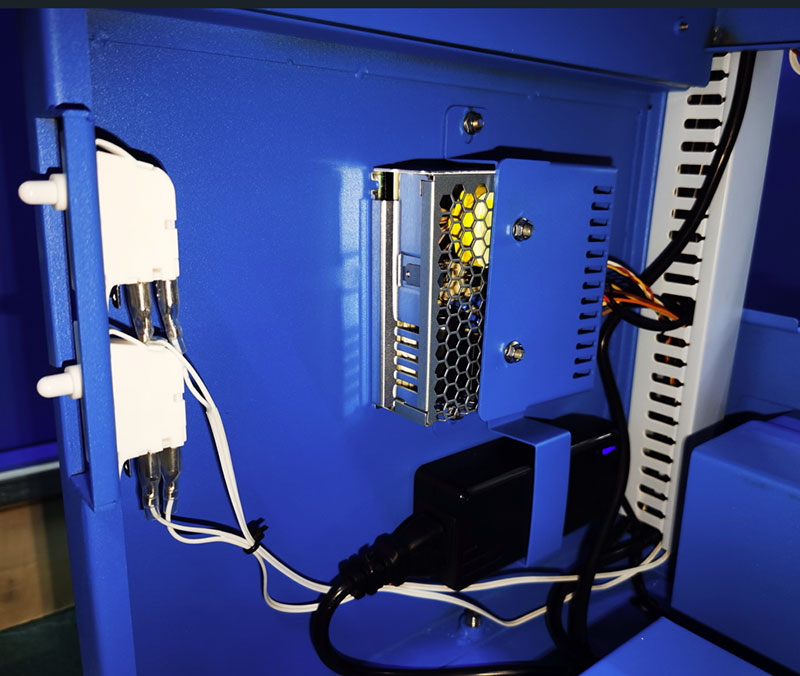
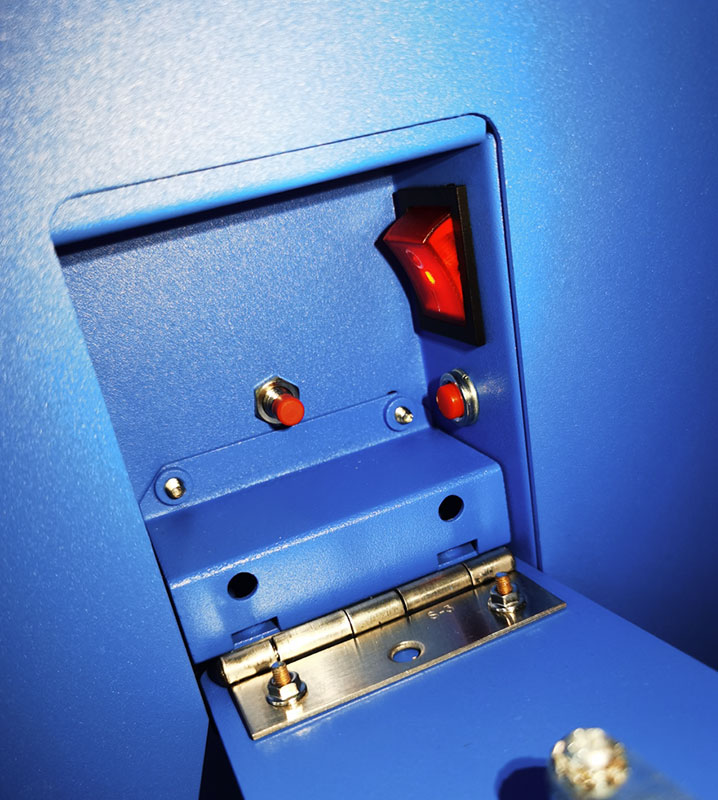
- Electrical Testing: before power on the kiosk, we will arrange this step
Software Installation and Configuration
- Operating System: Install the required operating system and any custom applications software.
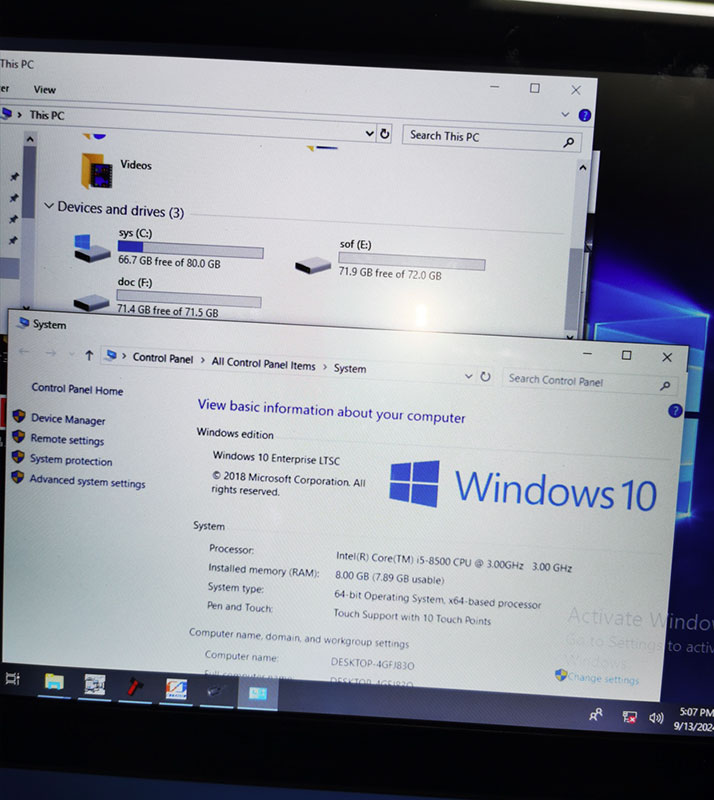
- Peripheral Configuration and test: install all drivers, configure peripherals like notes acceptors, card reader, scanner, camera, door sensor, speaker, and printer to work normally.
Security Settings: set password for digital lock to restricted user access for cash box, install the firewall protections if necessary, according to client’s request.
OQC (Outgoing Quality Control) Testing and Inspection
- Functional Testing: ensure all hardware components work as intended.
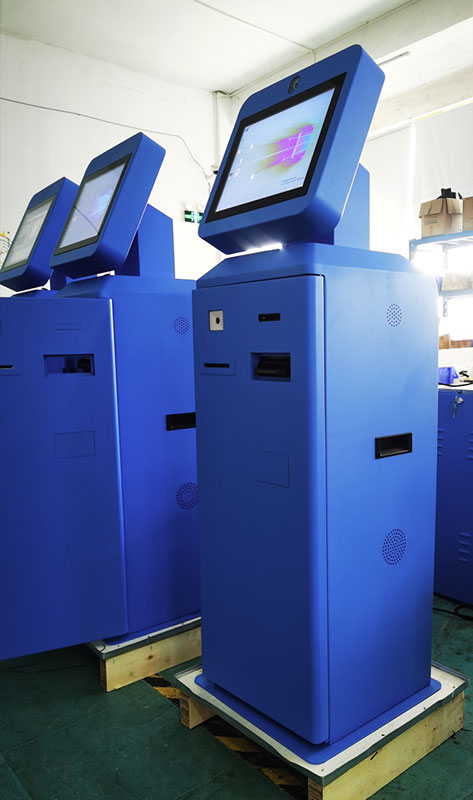
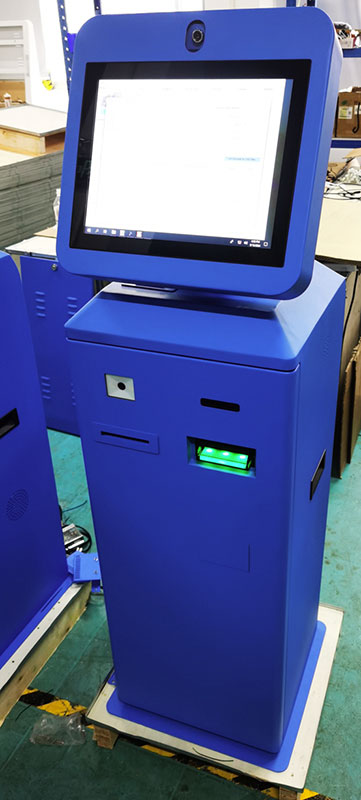
- Durability Testing: leave the kiosk working at least lasts for 48 hours, conduct stress tests to ensure the enclosure and hardware can withstand regular usage and environmental factors.
Packaging
- Branding and Labeling: apply branding logo by silk print, and any user instruction stickers.
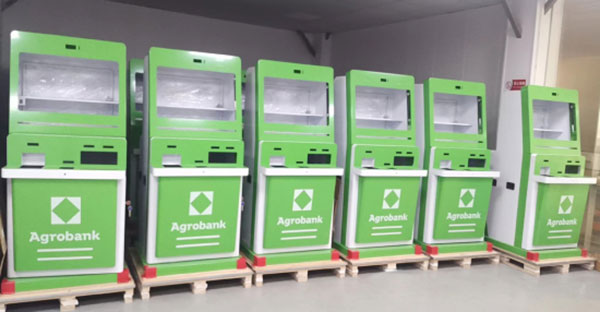
Clean the inside and outside of kiosk
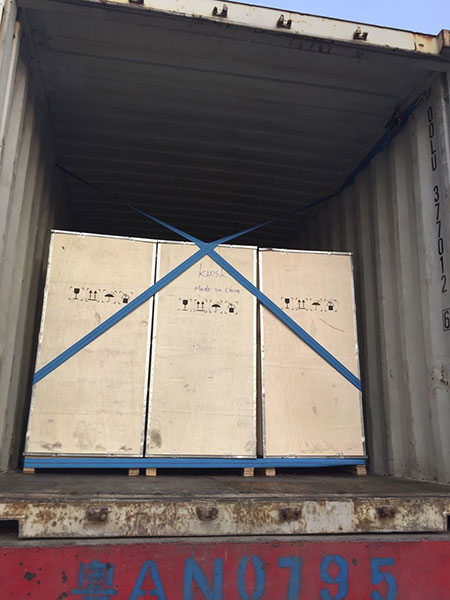
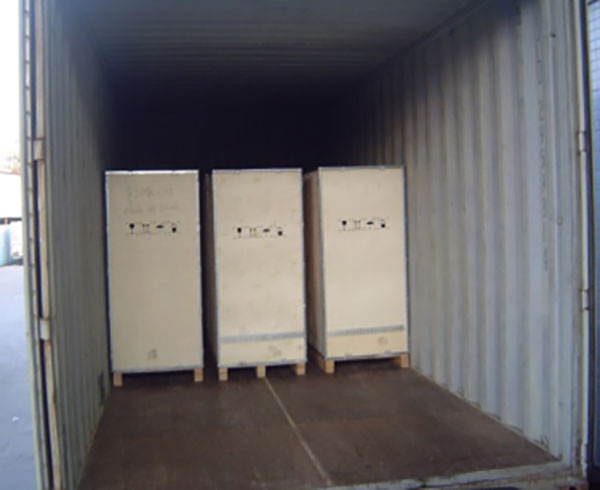
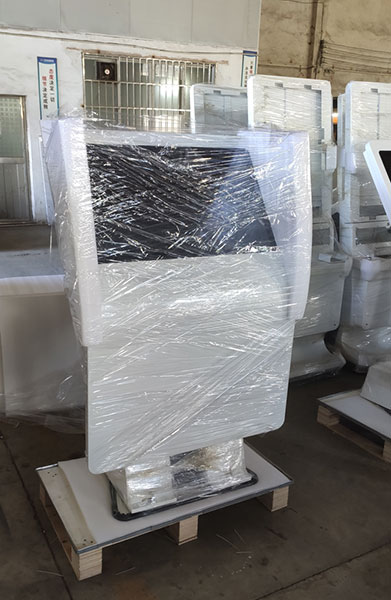
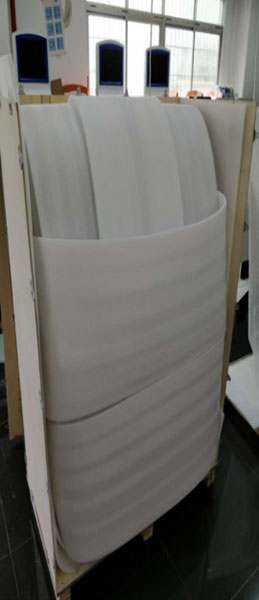
Packaging for transport: Package the kiosk carefully, ensuring shock-absorbent materials protect it during shipping.
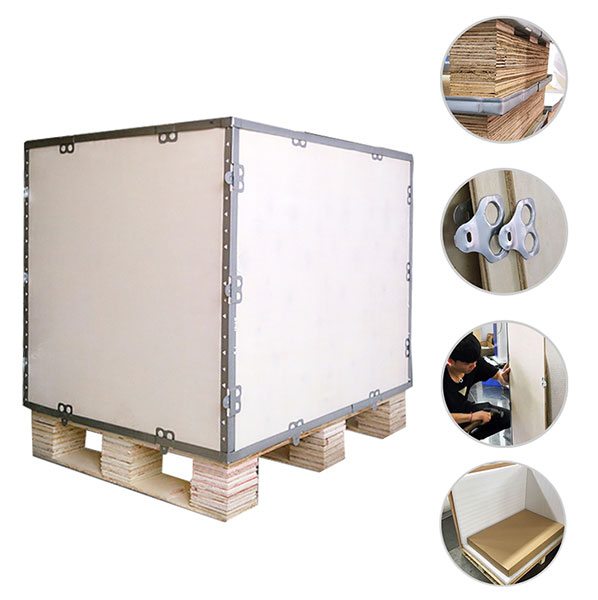
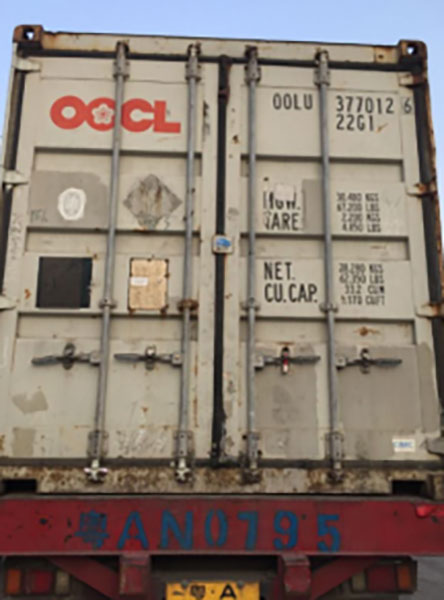
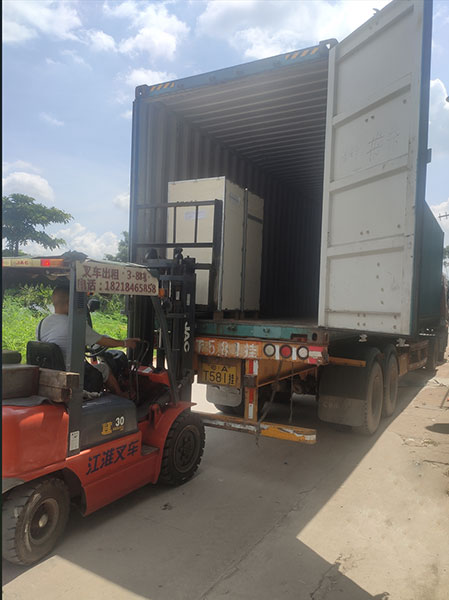
- Container loading: